Wednesday, November 30, 2011

A Before & After Step by Step

Just a quick little tutorial for the readers of the food blog.  Since I absolutely do no promotion for this blog, I assume everyone here came from the food blog. :)


Okay, so here's the original photo opened up in the RAW editor of Photoshop- the colors are a bit dull, the meat a not so medium-rare looking gray, and the broccoli a shade of yellow.  To fix the muted color problem, we're going to be utilizing curves.  In simple terms, just think of curves as the contrast tool on steroids.  It produces much more detailed  results and offers the user more control over what parts of the image he/she wants to adjust.  I'll just give a simple use for this tutorial.

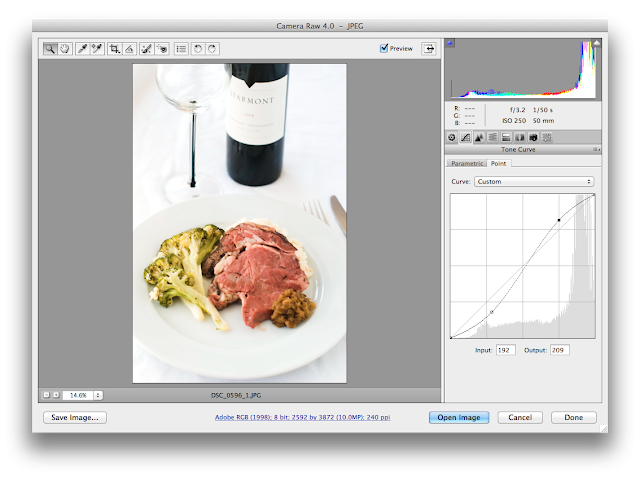
On the side bar click the second tab (the one with the curve on it... get it?).  After that switch from the "parametric" tab to the "point" tab.


Probably the easiest way to achieve results with the curves tool is to make what they call the "S" curve.  Just like it says, you just drag and drop the line to resemble a slight "S."  Keep making adjustments until the image suits your liking.

 And voila! Already a markedly better improvement!  Now to address that terribly overcooked broccoli.  On the right, click on the 4th tab- HSL (hue, saturation, luminance)/Grayscale tab.


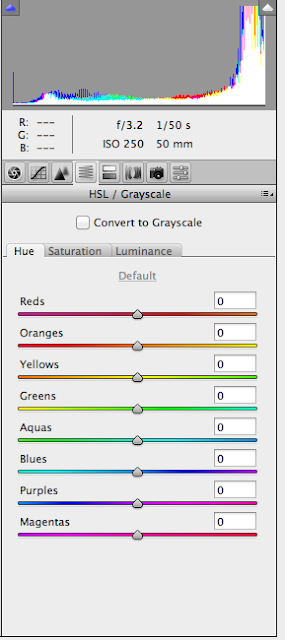
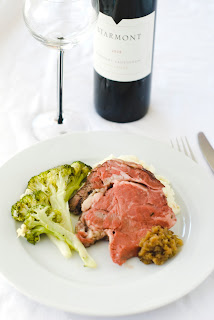
As you can see, you can toy with certain colors in an image.  Our problem is that the yellow broccoli is not green.  All you gotta do is take the slider for yellow, and move to the right towards the color green!  You can also take any green in the original photo and make it "greener" if you like by moving the green slider to the right as well.

 Yellow broccoli no more!


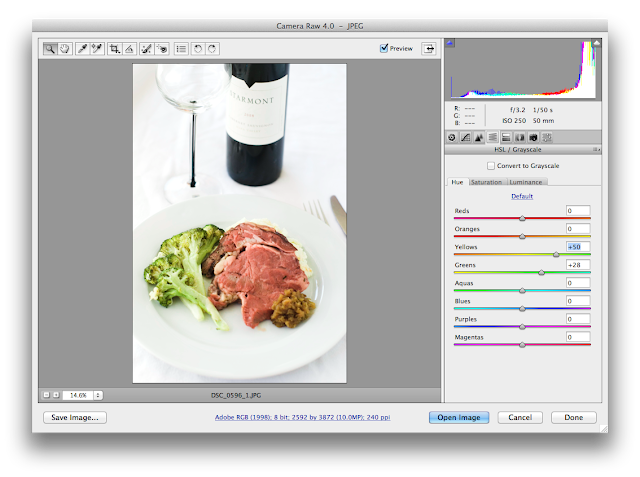
I also moved the orange slider a little to the left towards the color red to deepen the color of the rib-eye.


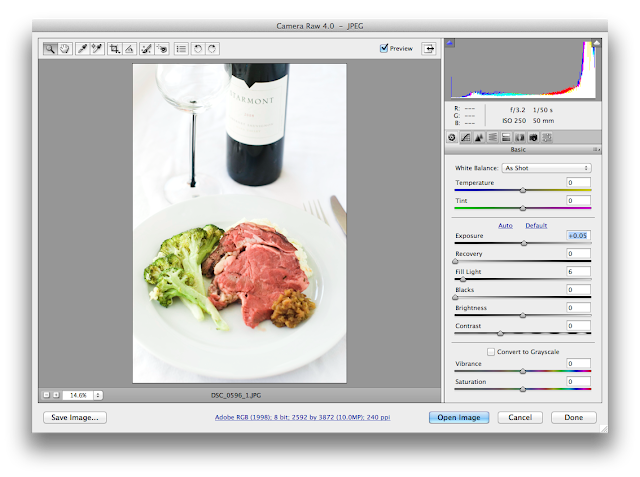
After that, you can go back to the first tab and make adjustments to exposure, general saturation, or white balance until you're satisfied. 


Monday, November 28, 2011

Just for the Sake of Posting

I know I haven't touched this blog for a while (most of my attention is devoted to the food blog), but I just wanted to show a before and after a black and white editing.  After desaturating the image, I made multiple adjustments using curves.


Tuesday, July 26, 2011

Scourgify!


Overall I'm quite 'mehh' about this photo... I feel like it might have turned out better if I took this in a bigger room, but hey, you now know how small my room is!

Thursday, July 21, 2011

Mr. Poppin's Commute: Before + After


An extreme (well for me it is) before an after.  I woke up at 7 a.m. to take advantage of the gloomy summer morning and after finally finding all of the appropriate tutorials on how to use various Photoshop techniques online, I saved the final picture at 9 p.m.  


Needless to say, I was pooped- It just makes me so much more amazed and awe-struck at photographers who are able to do this every single day.  While I would love to do a step by step tutorial, unfortunately I wasn't taking very many screenshots during editing as I was going along :(.


Wednesday, July 20, 2011

Tuesday, July 19, 2011

Buon Appetito


A return to the world of food photography- one of the hardest in my opinion.

Sunday, July 17, 2011

Frame of Mind + Making Of


I noticed that my 'About Me' page didn't even have a picture yet.  Now I finally understand that awkward feeling all of those conceptual photographers on flickr feel- looking at yourself on your computer for hours on end is just weird to say the least.  I can't imagine being able to do this for 365 days.

I'm a straight up noobie when it comes to conceptual photography (if you want to see some amazing examples check out the flickr links on the right).   By no means whatsoever do I consider myself a capable photoshop instructor, but at the same time I think it would be nice to give a tutorial so all of you who are as inexperienced as I am can follow along with the learning progress.

Okay first we need to take a self portrait... I decided to take mine in front of my piano room next to the front door- the light shining through the glass from the door added what I thought a nice dramatic tone.


Now if you have a remote or a pocket wizard then that's great. I don't.  So I had to find a way to get my portrait in focus, so I looked around the house to find something that was roughly the same height as I am (not too terrible of a task since I am a rather short) until I found an easel.


However, it was rather difficult to get it in focus because the poles that make up the easel are rather skinny, and the camera kept focusing on the background instead. To solve this problem I just threw a sweater on top of it to make the job easier.


After getting it into focus, switch your camera into manual focus and turn on the self timer. Now it's just a matter of moving the easel out of the way and standing in its place.


Wednesday, June 29, 2011

The Growing of Chihuly's Garden

I think the glass flowers on the ceiling of the Bellagio Hotel may just be one of the most overly photographed objects in Vegas, but hey, how can you not? It's just so damn beautiful to look at!

Here is the shot straight out of the camera:


Even after brightening it up a bit, the real photograph didn't really look that pleasing to look at as an overall piece of art.


So in Photoshop I played around with the watercolor setting until I got this!


Tuesday, June 28, 2011

Monday, June 27, 2011

A Day in the Life in Mexico

Untitled by AndrewBui
Untitled, a photo by AndrewBui on Flickr.

The Power of Curves

Don't judge me, but I've just recently discovered them.


Before / After


B&W Conversion


Sunday, June 19, 2011